Updated October 12, 2021
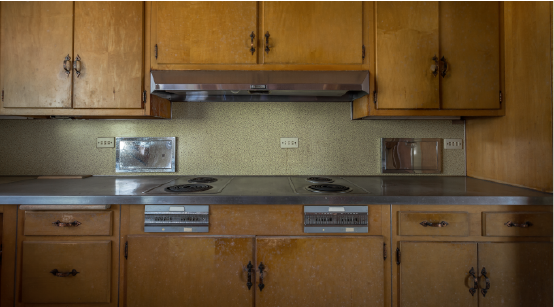
Ready to remove or replace the old cabinets in your kitchen, bathroom, or other area of your home or business? This guide will help get you started on the right foot.
Removing cabinets isn't an overly complicated process, but there's an order you should follow to streamline the process and minimize setbacks.
What to Expect:
- Equipment You'll Need to Remove Cabinets
- Remove Contents and Cabinet Lighting
- Remove Cabinet Doors and Drawers
- Detach Cabinets from Each Other
- Detach Cabinets from the Wall
Want some help? Get quotes from interior demolition pros near you
Equipment You'll Need to Remove Cabinets
Removing your cabinets doesn't require a laundry list of equipment, but there are a handful of items that are necessary, so be sure to get them organized before beginning your project.
Equipment and Materials:
- Electric drill or driver
- Voltage/current detector pen
- Phillips-head screwdriver
- Tape
- A helping hand
- Dumpster
A 10 yard dumpster is the ideal size for disposing of standard-sized kitchen cabinets, or smaller bathroom cabinets and other debris or junk you have lying around.
If you have additional debris-producing projects you plan to tackle around the same time as your cabinet removal, you may want to size up.
20 yard, 30 yard, and 40 yard containers are all common dumpster rental size options, but be sure to ask the providers you speak to which size will be best for your specific project.
Remove Contents and Cabinet Lighting
Naturally, before you can remove your cabinets, you'll need to empty them of all their contents and wipe them down for a more tidy process.
If you have any lighting mounted under or within your cabinetry, you'll want to remove those now as well.
If it's simply mounted with adhesive, pop them off to salvage them for use elsewhere or on future replacement cabinets.
If they're wired, you'll need to take more safety precautions.
Turn off the associated circuit breaker switch and confirm that electricity is no longer running to the area.
You can double-check that the proper switch is off by using a voltage detector pen.
Once you're certain no power is running to the lighting being removed, you can remove any screws holding the light in place.
Typically, you will need to remove the light cover and remove the screws from inside the light itself.
You can detach the supply line by unscrewing the wire nuts.
If you do, be sure you also detach the copper ground wire.
Keep reading:
- The Health Benefits of Decluttering
- 5 Tips for Decluttering Your Home Before the Holidays
- Declutter Your Home to Sell It Faster
Find interior demolition and remodeling pros near you to help
Remove Cabinet Doors and Drawers
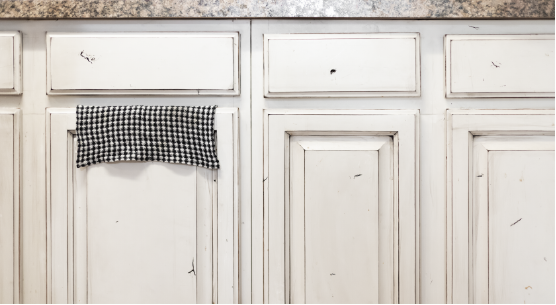
Once all items are taken out of your cabinets and all lighting has been removed, it's time to take the doors and drawers off.
Removing the cabinet doors and drawers will make it easier to remove cabinet boxes and carry them to the dumpster without slamming your fingers or losing your grip.
If you plan on reusing your cabinets or donating them to a local charity, label the backs of each cabinet door/drawer and tape screws to their corresponding hinges so it's easier to know what goes where.
Typically when it comes to drawers, there are metal glides that can be pinched or maneuvered so the drawers pull right out.
Detach Cabinets from Each Other
Cabinets are attached in two places—to the wall and to each other.
When you need to remove more than one cabinet box, you should first detach the cabinets from each other.
Locate the screws on the interior cabinet wall and use a driver to remove the screws.
There are typically 2-3 on each cabinet side.
Detach Cabinets from the Wall
Once your cabinet is detached from its neighbor, you can unscrew the cabinet from the wall and remove it altogether.
If you haven't done so already, take off any cove molding at this time, then unscrew the cabinet unit from the wall.
These screws will be located in one of two places:
- Inside the cabinet itself
- Top/lower edges of the cabinet
Once you've located the final screw (we recommend leaving the middle screw for last), use caution when removing it so as not to let the cabinet fall.
Have someone help you with this part, as you'll need them to hold up the cabinet box slightly while you unscrew, and support it enough so that the cabinet doesn't fall to the ground or hurt someone.
If all side screws and top screws have been removed from the cabinet properly, it should come off the wall easily.
If the cabinet is not falling, there are still screws attached somewhere.
Note: If you don't plan on reusing your cabinets and they're still in good shape, donating them is a great option.
Need some help? Find interior demolition experts near you
Learn more:
