Updated August 1, 2023
Whether you need to demolish a wall as part of a remodeling project or simply to improve the overall flow of your living space, there's a right way and a wrong way to complete interior wall demolition projects.
We offer do-it-yourself wall demolishers a few tips below, but if you're not 110% confident in your abilities, we urge you to hire a qualified interior demolition contractor to handle it safely and properly.
We'll break down how the wall demolition process is done and how to find a qualified pro to handle it for a fair price.
Jump to:
Find interior demolition near me
How Wall Demolition Is Done
1. Inspect the Area
Before beginning the process of demolishing a wall, it should first be determined if it is load-bearing or non load-bearing. This step is incredibly important and is the first step to making sure your project is completed safely and doesn't put your home's structure at risk. If you're not 100% sure, turn to a professional.
Do not skip this step!
Demolishing a load-bearing wall without additional support added can have catastrophic consequences for you and your home.
You should also be sure that no HVAC ducts, electrical lines, or plumbing lines are in the wall. If there are any utility lines found in the wall, you will need to call a qualified professional to take care of them prior to starting the demolition process.
2. Prepare the Area
After you have determined that there are no utility lines or other obstacles in the wall, clear out the room and lay out a large plastic drop cloth.
Tearing down drywall or plaster will make a mess.
Open a few windows or run a fan to keep your workspace properly ventilated while you work.
3. Score the Wall
You should now measure and mark the area of the wall to be demolished. Score over the marks with a utility blade.
4. Break Through the Wall
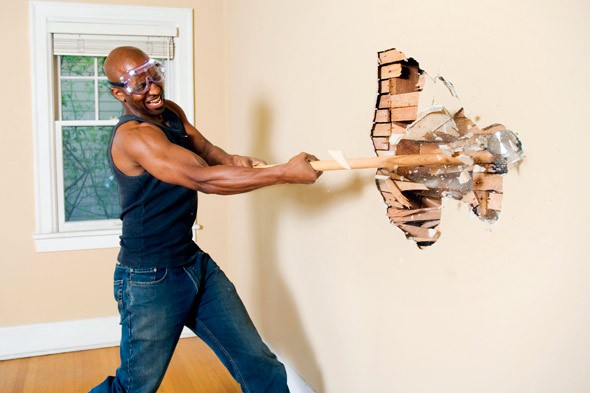
Use a hammer or a small sledgehammer to break out the drywall or plaster.
Pay close attention not to hit the wall framing. If necessary, use a drywall saw for precise cuts along the lines that you scored.
5. Remove Any Insulation
Interior wall demolition is a messy job, with insulation removal being arguably the messiest part.
Just as insulation is blown in, it can also be sucked out using powerful vacuums and dust collectors.
6. Remove Studs and Framing
To properly remove any stubborn studs, a reciprocating saw can be used.
You should also use it to cut through the wall framing and the sill. If you find any pieces of sill that are attached to the floor, a prybar can be used for removal.
7. Clean Up
Collect and dispose of the debris from the demolition. For most jobs, it's a good idea to rent a temporary dumpster in advance to be ready to collect all the resulting debris, while keeping your home or business as clean and tidy as possible while the work is completed.
Keep reading:
- DIY Interior Demolition: Is It Really Worth It?
- The Homeowner's Guide to Interior Demolition
- 7 Things You Should Know Before Starting a DIY Demo Project
- Small Demolition Projects: DIY or Hire a PRO?
Who to Hire for Wall Demolition
As previously mentioned, wall demolition is a complicated project. So much can go wrong, and quickly, which is why hiring a professional for your wall demolition is the best choice.
Finding a contractor can be time-consuming and a pain in most cases, but not with Hometown.
We specialize in helping customers find qualified local demolition pros offering the service they need, including wall demolition, when they need it.
Start by getting answers to common interior demolition and remodeling questions, read customer reviews, and easily request multiple quotes from local contractors with the click of a button. Getting multiple quotes increases your chances of hiring the right person for the right price.
Find interior demolition near you
Find out more:


